 Well written books don’t always sell. Well marketed books almost always do. Whether you self-publish or go with a traditional publisher, your success will depend on your ability to market your book.
Most authors understand the importance of using social media to connect with their audience and market their books. Facebook and Twitter are the popular choices, followed by other networks such as: Pinterest, Instagram and LinkedIn.
One social network that is often overlooked by authors is Slideshare.
In this post we will discuss how to market your book with Slideshare. If you are not familiar with what Slideshare is and how it works, we will begin with a brief explanation.
Well written books don’t always sell. Well marketed books almost always do. Whether you self-publish or go with a traditional publisher, your success will depend on your ability to market your book.
Most authors understand the importance of using social media to connect with their audience and market their books. Facebook and Twitter are the popular choices, followed by other networks such as: Pinterest, Instagram and LinkedIn.
One social network that is often overlooked by authors is Slideshare.
In this post we will discuss how to market your book with Slideshare. If you are not familiar with what Slideshare is and how it works, we will begin with a brief explanation.
What Is Slideshare
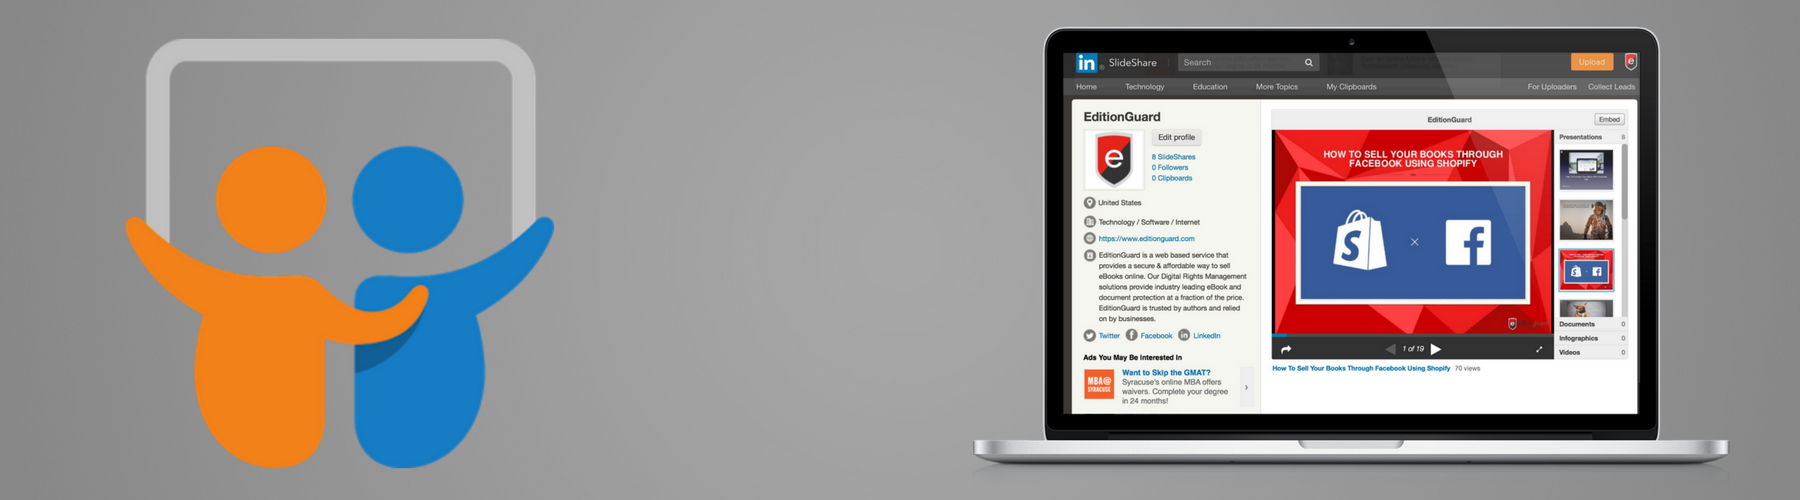 Slideshare is a slide hosting service that was acquired by LinkedIn in 2012. You can think of Slideshare as a social network where people share information in Powerpoint style presentations.
When you upload a presentation to Slideshare it can be viewed on the site itself, as well as embedded or shared on other websites and social networks. When done right, Slideshare can help you generate serious website traffic, generate leads and enhance your blog posts and other social network content. Now that you are familiar with what Slideshare is, let's discuss how to use Slideshare to market your book(s).
Slideshare is a slide hosting service that was acquired by LinkedIn in 2012. You can think of Slideshare as a social network where people share information in Powerpoint style presentations.
When you upload a presentation to Slideshare it can be viewed on the site itself, as well as embedded or shared on other websites and social networks. When done right, Slideshare can help you generate serious website traffic, generate leads and enhance your blog posts and other social network content. Now that you are familiar with what Slideshare is, let's discuss how to use Slideshare to market your book(s).
How To Market Your Book With Slideshare

If you do not have a Slideshare account, you will need to create one before getting started. Once you have a Slideshare account, follow the steps below.
Step 1: Create Your Presentation Using Powerpoint, Keynote or Google Slides
To get started with Slideshare you will need to create your presentation. You can create your presentation using Powerpoint, Keynote or Google Slides. Choose your favorite and start creating your presentation. Slideshare Best Practices:- Keep it Simple: Use 10 words or less per slide
- Use Stunning Images: Images will make your presentation more visually appealing
- Have A Clear Storyline: Your presentation should have an easy to follow storyline
- Make It Clickable: Add URLs to text or images you want to be clickable
- Include Call To Actions: Make it clear what you want viewers to do
Step 2: Include Several Call To Actions
A call to action tells people what you want them to do. An example of a call to action is a “Buy Now” button below your book on your website. Without a call to action people will simply view your presentation and then leave. We want people to buy your book, so make sure they know that too! Call To Actions You Should Include- Buy Now
- Visit Your Website
- Connect With You On Social Media
Step 3: Upload Your Slideshare Presentation
Once you have created your Slideshare presentation, you will be ready to upload it to Slideshare. To do so, you will need to save it as a Powerpoint file. If you are using Powerpoint, this doesn’t require any additional steps. If you are using Keynote or Google Slides, you need to “Export” as a Powerpoint file before uploading to Slideshare. Once you have uploaded your presentation, you will need to fill out some additional information before you publish it. This information includes:- Title
- Description
- Category
- Tags
Step 4: Share and Embed Your Slideshare Presentation
Congratulations! You have successfully uploaded your Slideshare presentation. Now it is time to promote your presentation to ensure people view it. Below each Slideshare presentation is a “Share” button.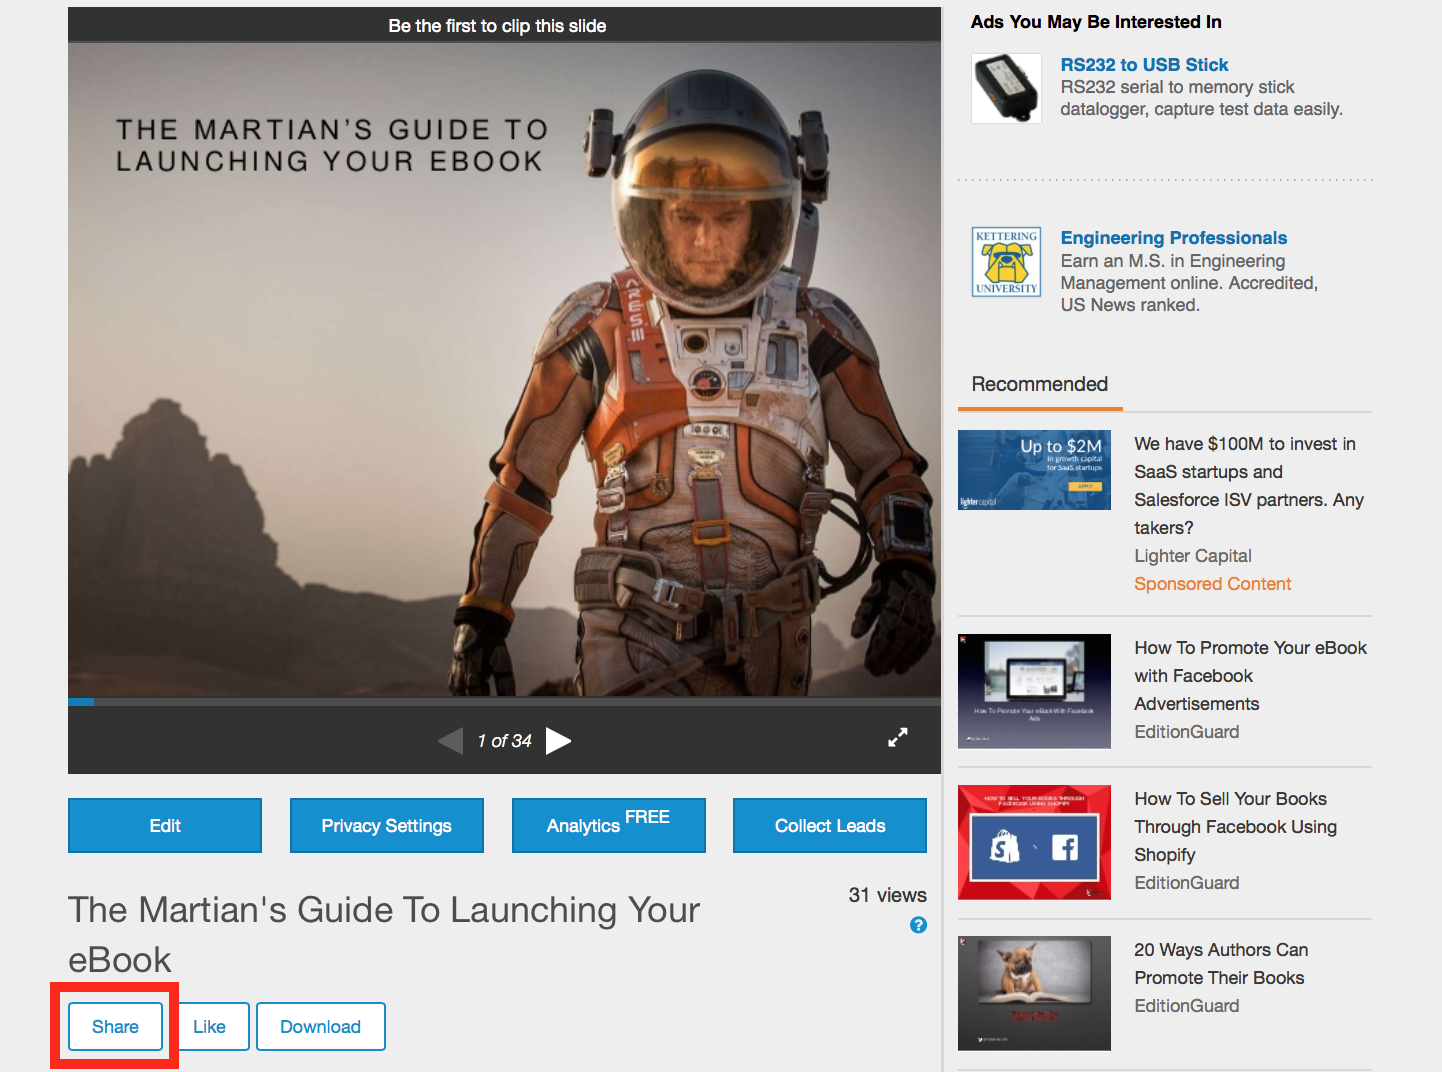 Clicking on this “Share” button will provide you with several different ways to conveniently share and embed your Slideshare presentation. Your other social media accounts are a great place to begin sharing your Slideshare presentation.
You should also consider turning your presentation into a blog post, which you can embed the presentation into. See example below:
http://www.slideshare.net/EditionGuard/how-to-sell-your-books-through-facebook-using-shopify
Clicking on this “Share” button will provide you with several different ways to conveniently share and embed your Slideshare presentation. Your other social media accounts are a great place to begin sharing your Slideshare presentation.
You should also consider turning your presentation into a blog post, which you can embed the presentation into. See example below:
http://www.slideshare.net/EditionGuard/how-to-sell-your-books-through-facebook-using-shopify